
|
Walkthrough
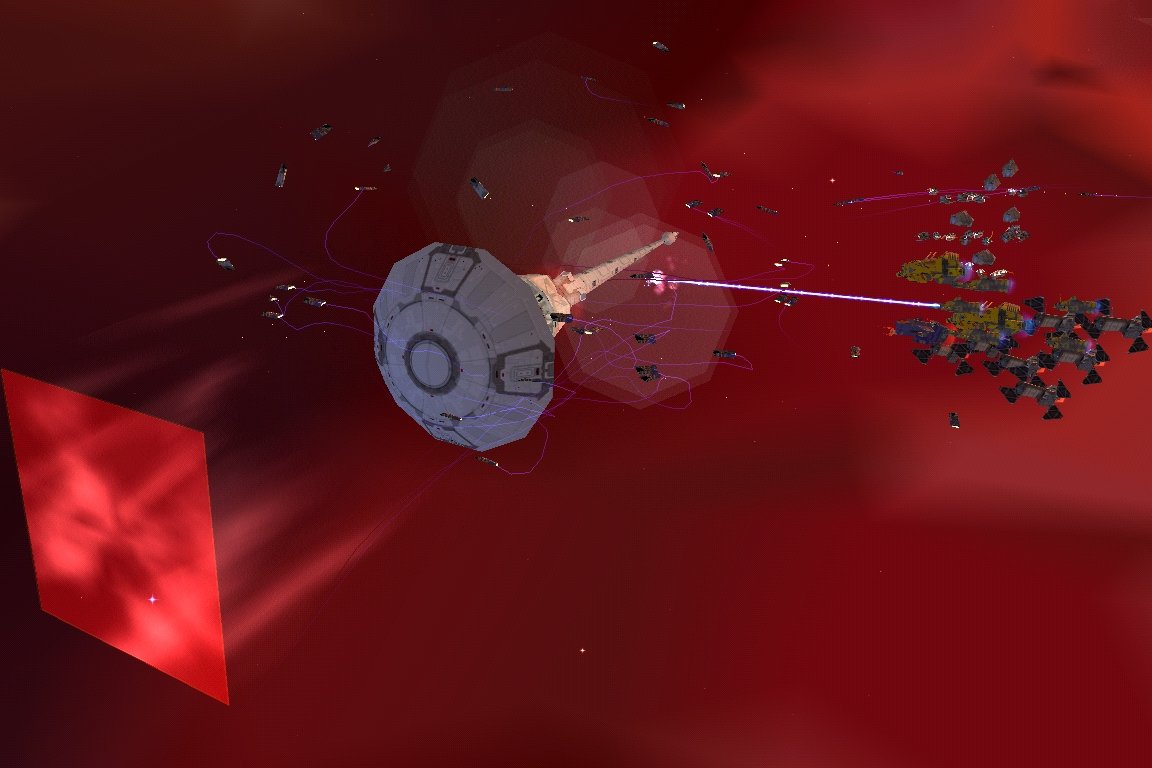
Level 5
|

|
GREAT WASTELANDS
[41:9:0:0]
- If you don't want the enemy to take most of the RU's
on the map, quickly send your AF's and IAF's to where
the crossbar would be on the map if the 'V' of asteroids
were an 'A' and put your SCr near them. I had 3xAF's,
8xIAF's, SF, 60 Interceptors in 4 wings
- Position your SC's above and behind them. Put 4xSC's
at the rightmost wing. NB: SC's are targetted by (E)CSp's
in this level. Hint: count how many SC's you will need
to capture what you want on this level and get building
the extra ones you need while your fleet is moving
into position.
- It is helpful to turn on Tactical Overlay (Caps Lock)
at this point so that you can detect enemies before you
see their models through the 'haze of distance'
- Fleet Intel will point out the 2x(E)RC's for you; as
soon as they are in visual range of any of your
ships, set a pair of SC's on each one. NB: this deprives
the enemy of RU's to build more ships with its carrier
and stops them nicking all those lovely space-gas clouds
- At about the same time, 3x(E)IF's will pass under your
fleet. Set a pair of SC's on each; they'll be quite safe
as long as they arrive together. Otherwise one (E)IF will
free its buddies by blasting your SC's
- Four wings of ˜8x(E)Interceptors will come from
in front and two wings of 4x(E)AF's will come from the
front sides. Set the Interceptors on the (E)SCr. AF's
in this formation are virtually impossible to capture
if they are targetting SC's so just burn them with your
IAF's; you have bigger fish to catch!
- Have each wing dock with your SF (if you have one) at a
time so they can continue at peak performance. NB: SCr
fly slowly (so are easier to hit) when low on fuel
- When the 2x(E)D appear (from above where the (E)AF's
came from), set a bunch of Evasive Interceptors on each
to keep them busy and absorb fire while you set 3xSC's
on each. NB: Evasive SCr do very little damage and are
hard to hit
- Set the rest of the Interceptors on the next few wings
of (E)Interceptors that come at you
- By now you will be able to see the (E)Carrier and its
(E)SF. I found that the (E)Carrier has little firepower
to it (although the manual says "Its rapid fire deck
guns give it adequate defence") but it does considerable
damage by ramming your IAF's and AF's if you're not
careful.
- The SC's you set on the 2x(E)RC's and 3x(E)IF's will
probably be ready and waiting by now. Send them up if
you're low on SC's
- Set all three RC's to Harvest
- Set 5 SC's on the (E)Carrier but be careful they don't
try to cut a corner and end up exploding by ramming it.
- The (E)SF will follow the (E)Carrier as it is dragged
off to your MS for refitting. Rescue it from its evil
ways when you have a pair of SC's free.
- When the Carrier is yours, send it to the root of the
'V' of RU's to act as a super-Resource Controller
- Set AutoLaunch on your MS to false and dock all your
SCr with it.
- Once you have collected all the RU's and converted all
the (E)CSp's, you can HS. NB: It is safe to initiate HS
when a RC is heading back to dock, full of RU's; the RC
will dock for HSing and emerge next level with its RU's
still inside it, ready to transfer to your Cosmic Account